MUC-OFF Crank Protection Kit





MUC-OFF Crank Protection Kit
RM80.00
Brand: MUC-OFF
Category: Muc-Off, Bicycle Protection
Quantity: 20
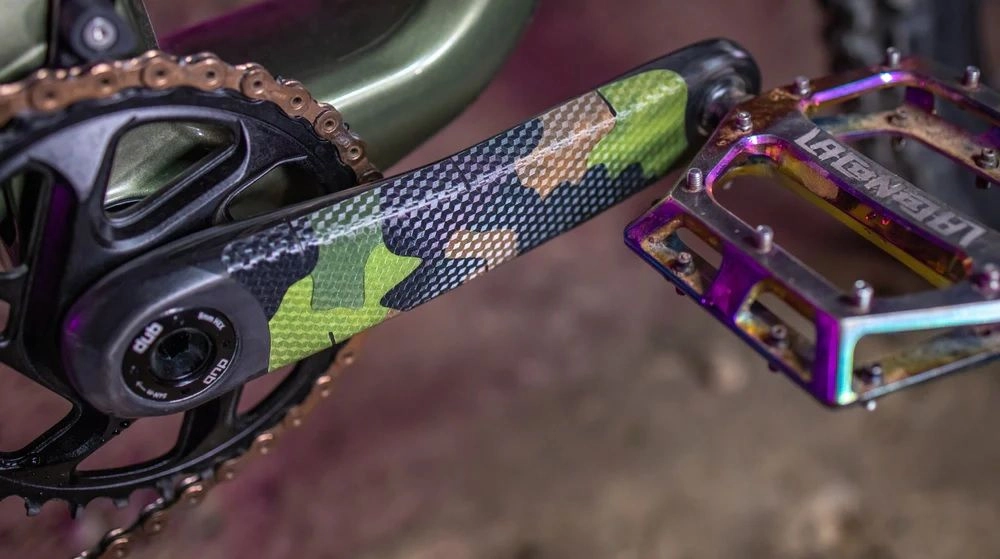
It doesn’t take much to scuff your cranks. Trust us, we know! Cranks are susceptible to constant rubbing as you pedal, especially as you change position on the bike.
Designed for MTB and EMTBs, our Clear Crank Protection Kits are made from TPU (Thermoplastic Polyurethane) film technology, that creates a smooth and stealthy finish while still being strong and durable.
The kits are stain-resistant, non-yellowing, and self-healing, meaning you simply apply warm water to any light scratches or scuffs, to buff them out of the protective film.
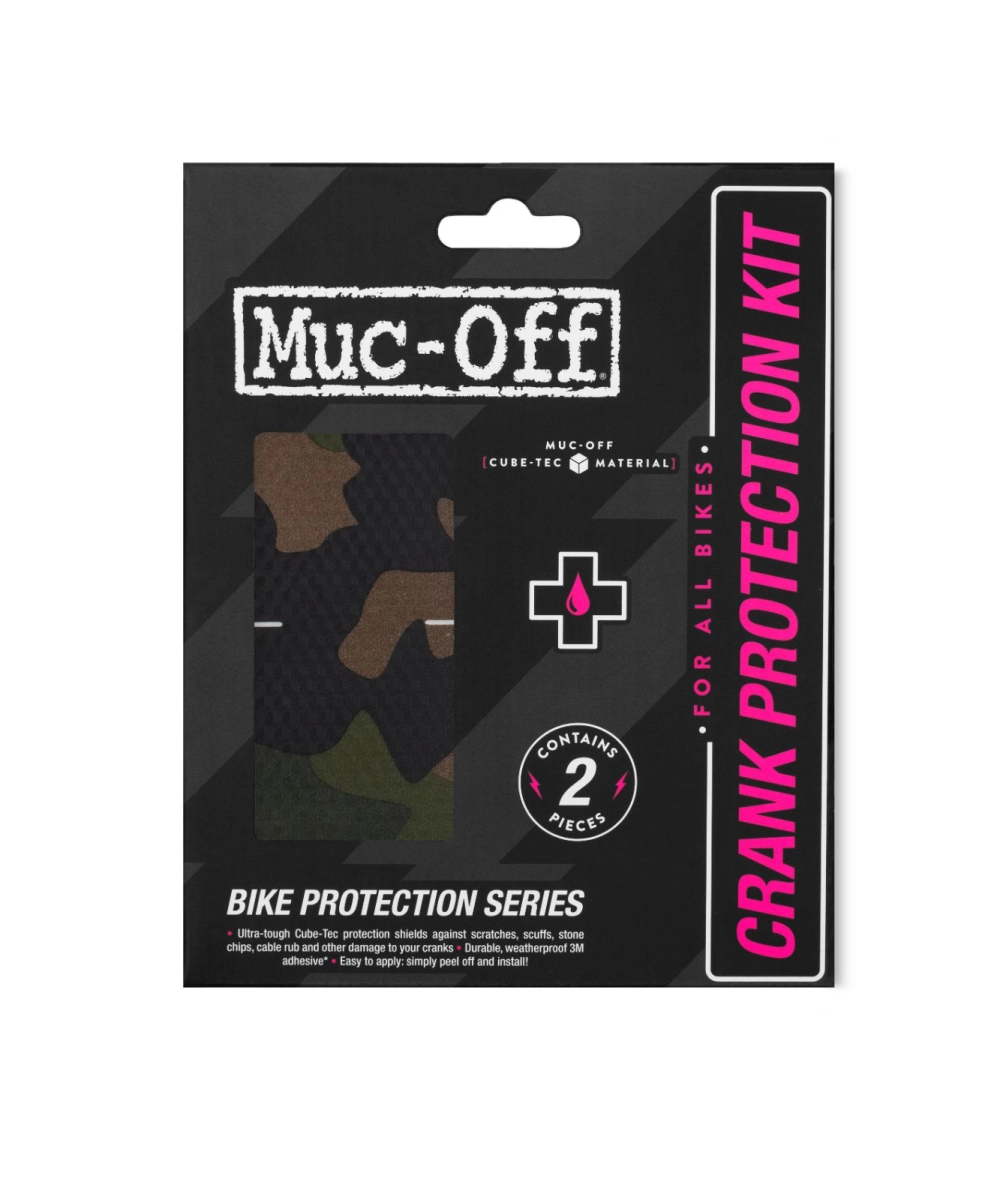
The two pieces contained within the kits are backed with ultra-strong self-adhesive backing, which means they’re super easy to install and will stay firmly in place whatever the conditions – So you can focus on keeping it pinned!
3M™ is a registered trademark.
HOW TO:
- Clean your bike thoroughly before application. For best results and optimum durability spray Muc-Off Disc Brake Cleaner or Dry Degreaser onto a clean, dry microfibre cloth and wipe over the surface to ensure it is contaminant free. (Always test the disc brake/dry degreaser cleaner on a small inconspicuous area prior to use to ensure finish compatibility!)
- Try to fit the guards in a clean and warm environment, this will help achieve good adhesion to the surface. Top Tip! If you are applying in colder conditions and have access to a hairdryer then carefully warm the surface. This will help achieve an optimal adhesive bond.
- Spray your hands and the adhesive side of the guards with water then slowly peel the guards off the backing material and line up the centre of the guards to the area you are applying. NB: It’s important you start with each sticker in the dead centre of the area you are applying so chill and take your time on this section! Then slowly rub down the middle, working your way out to the sides pushing out any air bubbles to the edges.
Untitled
